Egg boilers simplify cooking‚ offering consistent results for various preferences. From soft to hard-boiled‚ these devices streamline the process‚ ensuring perfectly cooked eggs every time.
What is an Egg Boiler?
Egg boilers are specialized kitchen appliances designed for consistently cooking eggs without the guesswork often involved in traditional stovetop methods. These compact devices utilize precise temperature control and measured water levels to deliver eggs cooked to your desired doneness – soft‚ medium‚ or hard-boiled.
Unlike boiling eggs in a pot‚ an egg boiler automates the process‚ shutting off when the perfect temperature is reached. This prevents overcooking and ensures a tender‚ flavorful result. They are a convenient solution for breakfast‚ salads‚ or any recipe requiring perfectly cooked eggs.
Benefits of Using an Egg Boiler
Egg boilers offer numerous advantages over conventional boiling methods. They eliminate the risk of overcooking‚ resulting in consistently perfect eggs tailored to your preference. Precise temperature control ensures yolks and whites reach ideal textures‚ avoiding rubbery or undercooked results.
Furthermore‚ egg boilers are energy-efficient and require minimal supervision. The automatic shut-off feature provides peace of mind‚ and cleanup is typically simple. They’re a convenient and reliable way to enjoy perfectly cooked eggs effortlessly‚ every single time.
Types of Egg Boilers
Egg boilers come in electric‚ stovetop‚ and Instant Pot varieties. Each type utilizes different heating methods to achieve perfectly cooked eggs with ease.
Electric Egg Boilers
Electric egg boilers offer convenience and precision. These appliances typically feature a heating element and automatic shut-off‚ ensuring consistent results. Users simply add water‚ place the eggs on the tray‚ and select their desired doneness – soft‚ medium‚ or hard-boiled.
Many models include a measuring cup for accurate water levels. The appliance heats the water‚ creating steam that cooks the eggs evenly. Once finished‚ the boiler automatically switches off‚ preventing overcooking. Electric models are ideal for those seeking a hands-off approach to boiling eggs.
Stovetop Egg Boilers
Stovetop egg boilers are a classic and affordable option. These typically consist of a metal pot with a perforated basket or rack inside. Users add water to the pot‚ place the eggs in the basket‚ and bring the water to a boil.
Once boiling‚ reduce heat and simmer for the desired time‚ depending on preferred doneness. Careful monitoring is crucial to prevent overcooking. Stovetop boilers require more attention than electric models but offer reliable results and are easy to clean. They are a simple‚ effective way to boil eggs.
Instant Pot Egg Boiling
Instant Pots offer a convenient method for boiling eggs. Add one cup of water to the inner pot and place eggs on a trivet. Seal the lid‚ ensuring the vent is set to sealing. Cook on high pressure for a specific time – typically 5 minutes for soft-boiled‚ 6 for medium‚ and 7-8 for hard-boiled.
Follow with a natural pressure release for 5-10 minutes‚ then quick release any remaining pressure. Immediately transfer eggs to an ice bath for easy peeling. This method consistently delivers perfectly cooked eggs with minimal effort.
Preparing to Boil Eggs
Proper preparation is key! Select fresh eggs and ensure correct water levels. Careful placement prevents cracking during the boiling process for optimal results.
Choosing the Right Eggs
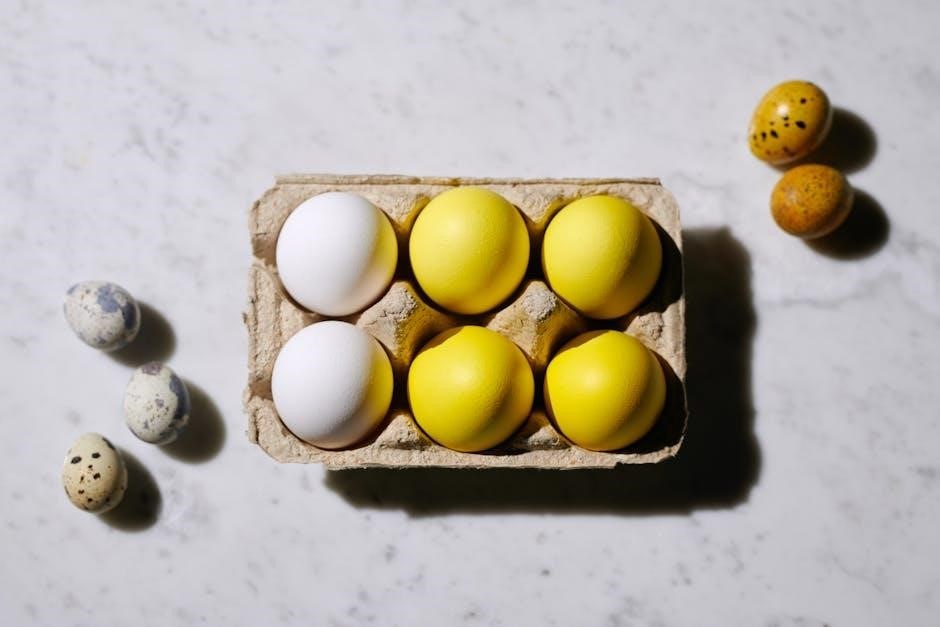
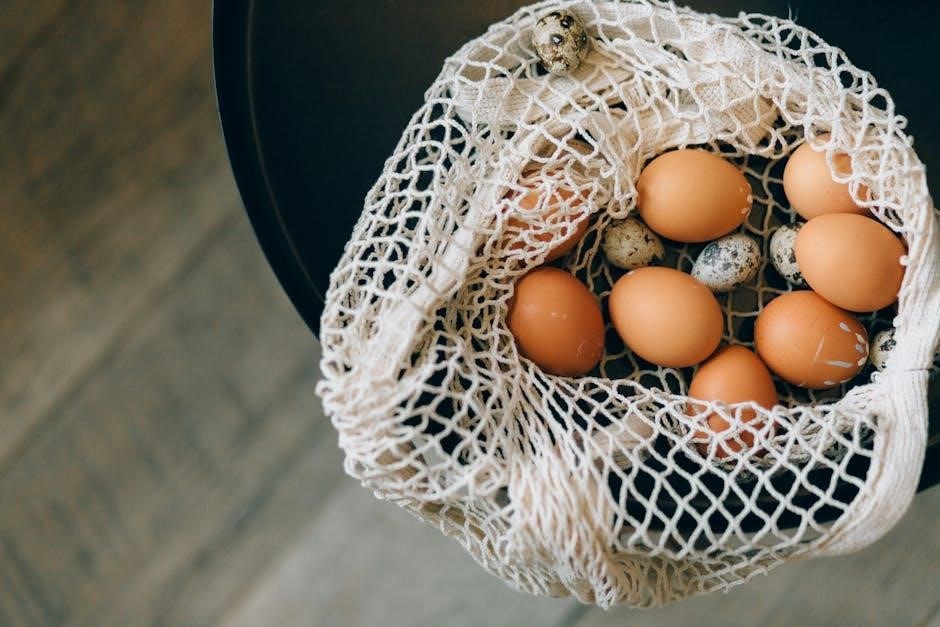
Selecting the ideal eggs significantly impacts the final outcome. While any eggs can be boiled‚ older eggs generally peel easier due to a larger air pocket. However‚ freshness contributes to a firmer yolk and white. Consider the egg size; adjust boiling times accordingly‚ as larger eggs require slightly longer cooking. Inspect shells for cracks – discard any damaged eggs to prevent contamination. Room temperature eggs are preferable‚ minimizing thermal shock and potential cracking during the boiling process. Ultimately‚ quality eggs yield the best results!
Water Level and Egg Placement
Proper water level is crucial for even cooking. Ensure eggs are fully submerged‚ typically covering them by at least one inch. Insufficient water can lead to unevenly cooked eggs. Gently place eggs into the boiling water using a spoon to avoid cracking. Avoid overcrowding the boiler; allow space for water circulation. For optimal results‚ arrange eggs in a single layer. Some boilers have designated racks; utilize these for consistent placement and prevent sticking. Consistent placement ensures uniform heat distribution during the boiling process.
Egg Boiler Instructions: A Step-by-Step Guide
Follow these steps for perfect eggs! Add water‚ place eggs‚ select your desired setting‚ and let the boiler work its magic for delicious results.
Soft Boiled Eggs
Achieving the perfect soft-boiled egg requires precision. Typically‚ use the water level indicator for the “soft” setting on your egg boiler. Insert the eggs carefully‚ ensuring they are fully submerged. The cooking time varies by model‚ but generally ranges from 3 to 5 minutes.
This results in a runny yolk and a slightly set white – ideal for dipping soldiers or enjoying with toast; Remember to immediately transfer the cooked eggs to an ice bath to halt the cooking process and prevent overcooking. Enjoy this delicate texture!
Medium Boiled Eggs
For medium-boiled eggs‚ a slightly longer cooking time is needed. Utilize the “medium” water level marking on your egg boiler. Place the eggs securely within the appliance‚ ensuring complete water coverage. Cooking duration generally falls between 6 to 8 minutes‚ depending on your specific model and desired consistency.
This yields a yolk that is partially set but still creamy‚ and a fully cooked white. As with soft-boiled eggs‚ an immediate ice bath is crucial to stop further cooking and facilitate easy peeling. Perfect for salads or snacking!
Hard Boiled Eggs
Achieving perfectly hard-boiled eggs requires the maximum water level indicated on your egg boiler. Securely place the eggs inside‚ ensuring they are fully submerged. Cook for approximately 9 to 12 minutes; precise timing depends on your boiler’s wattage and egg size. This ensures a fully solidified yolk and a firm‚ cooked white.
Immediately transfer the cooked eggs to an ice bath to halt the cooking process and prevent a greenish ring from forming around the yolk. This also aids in easier peeling!
Cooling and Peeling Boiled Eggs
Rapid cooling is crucial! An ice bath stops cooking and eases peeling. Gently crack the shell all over‚ then peel under cool running water.
Ice Bath Technique
Immediately transferring boiled eggs to an ice bath is paramount for several reasons. This rapid cooling halts the cooking process‚ preventing overcooking and ensuring the desired yolk consistency. The cold temperature also causes the egg to contract slightly‚ creating a gap between the egg white and the shell membrane.
To prepare the ice bath‚ fill a bowl with cold water and plenty of ice cubes. Submerge the boiled eggs completely for at least 10-15 minutes. This technique not only improves peelability but also helps prevent that undesirable greenish ring from forming around the yolk‚ a sign of overcooking and a reaction between sulfur and iron.
Easy Peeling Methods
After the ice bath‚ several techniques can simplify peeling. Gently tap the egg all over on a hard surface to create a network of fine cracks. Then‚ start peeling from the larger end‚ where an air pocket usually exists. Rolling the egg gently on the counter can also help loosen the shell.
Peeling under cool running water can further assist by getting between the egg and the shell. For older eggs (a week or more old)‚ peeling is generally easier due to the increased pH of the egg white. Avoid using your fingernails to prevent tearing the egg.
Troubleshooting Common Issues
Cracked eggs and green yolks are frequent concerns. Use older eggs to minimize shell breaks‚ and avoid overcooking to prevent the green discoloration.
Cracked Eggs
Dealing with cracked eggs during boiling is a common frustration. Often‚ using older eggs – those closer to their expiration date – can help‚ as the shell membrane weakens with age‚ making them less prone to fracturing.
Carefully lower eggs into the boiling water or egg boiler; avoid dropping them. A gentle approach minimizes impact. If cracks appear‚ a little vinegar added to the water can help seal them‚ preventing excessive egg white leakage. However‚ severely cracked eggs might still release some content‚ impacting the final result.
Green Ring Around the Yolk
A greenish ring around the yolk is a harmless‚ though visually unappealing‚ result of a chemical reaction. It occurs when sulfur in the egg white reacts with iron from the yolk during prolonged or high-temperature cooking.
Overboiling is the primary cause. To prevent this‚ adhere strictly to recommended boiling times for your desired yolk consistency. Rapid cooling after boiling also minimizes the reaction. The green ring doesn’t affect the egg’s safety or taste‚ but reducing cooking time is the best preventative measure.
Egg Boiler Maintenance and Cleaning
Regular cleaning extends your egg boiler’s life. After each use‚ detach and wash removable parts with warm‚ soapy water. Dry thoroughly before storing.
Cleaning Procedures
Thorough cleaning is vital for maintaining your egg boiler’s performance and hygiene. Always unplug the appliance and allow it to cool completely before cleaning. Detach all removable parts‚ such as the egg tray‚ water measuring cup‚ and lid. Wash these components in warm‚ soapy water‚ using a non-abrasive sponge or cloth to avoid scratching.
Rinse thoroughly to remove all soap residue. For stubborn stains or residue‚ a mild vinegar solution can be used. Wipe down the exterior of the egg boiler with a damp cloth. Ensure no water enters the electrical components. Dry all parts completely before reassembling and storing. Regular cleaning prevents buildup and ensures optimal functionality.
Storage Instructions
Proper storage extends the life of your egg boiler. Before storing‚ ensure the appliance is completely dry after cleaning. Coil the power cord loosely to prevent damage and store it neatly within the designated compartment‚ if available. Keep the egg boiler in a cool‚ dry place‚ away from direct sunlight and moisture.
Avoid storing it with other appliances that could potentially damage it. If storing for an extended period‚ consider placing the appliance back in its original packaging to protect it from dust and accidental impacts. Regular‚ careful storage ensures longevity.
Egg Boiler Safety Precautions
Always unplug the boiler before cleaning. Never immerse the base in water. Avoid touching hot surfaces during or immediately after operation for safe usage.
Electrical Safety
Prioritize electrical safety when using your egg boiler. Ensure the voltage of the appliance matches your household supply to prevent damage. Never operate the boiler with a damaged cord or plug; replace them immediately. Avoid using extension cords if possible‚ and if necessary‚ choose one rated for the appliance’s wattage.
Keep the boiler away from water sources and never attempt to disassemble or repair it yourself. Always unplug the appliance when not in use and before cleaning. A grounded outlet is recommended to minimize the risk of electric shock. Inspect the cord regularly for any signs of wear and tear.
Handling Hot Surfaces
Exercise extreme caution when handling a hot egg boiler. The exterior and internal components reach high temperatures during operation. Always use oven mitts or pot holders when touching the appliance‚ especially immediately after boiling. Avoid direct contact with heating elements or steam vents to prevent burns.
Allow the boiler to cool completely before cleaning or storing. Be mindful of hot water and steam when emptying the appliance; Keep children and pets away from the boiler during and after use to avoid accidental burns. A stable‚ heat-resistant surface is crucial for safe operation.
Beyond Basic Boiling: Recipes & Ideas
Perfectly boiled eggs unlock culinary creativity! Enjoy classic deviled eggs‚ creamy egg salad‚ or elevate your dishes with a protein-rich‚ versatile ingredient.
Deviled Eggs
Deviled eggs are a timeless classic‚ and perfectly boiled eggs are the foundation for success! Begin by halving your boiled eggs and gently removing the yolks. In a separate bowl‚ mash the yolks with mayonnaise‚ mustard (Dijon adds a lovely tang!)‚ and a dash of vinegar.

Season generously with salt and pepper‚ and consider adding a pinch of paprika or a sprinkle of fresh chives for extra flavor and visual appeal. Carefully spoon or pipe the yolk mixture back into the egg white halves. Garnish with paprika‚ chives‚ or even a tiny pickle slice for a delightful presentation. These make a fantastic appetizer or side dish!
Egg Salad
Egg salad is a wonderfully versatile dish‚ and consistently boiled eggs are key! Once cooled and peeled‚ coarsely chop your boiled eggs. In a bowl‚ combine the chopped eggs with mayonnaise‚ a touch of mustard‚ and finely diced celery for crunch.
Season with salt‚ pepper‚ and a sprinkle of paprika. For added flavor‚ consider a dash of pickle relish or finely chopped chives. Gently mix all ingredients until well combined‚ being careful not to overmix. Serve on bread‚ crackers‚ or lettuce cups for a quick and satisfying meal or snack!